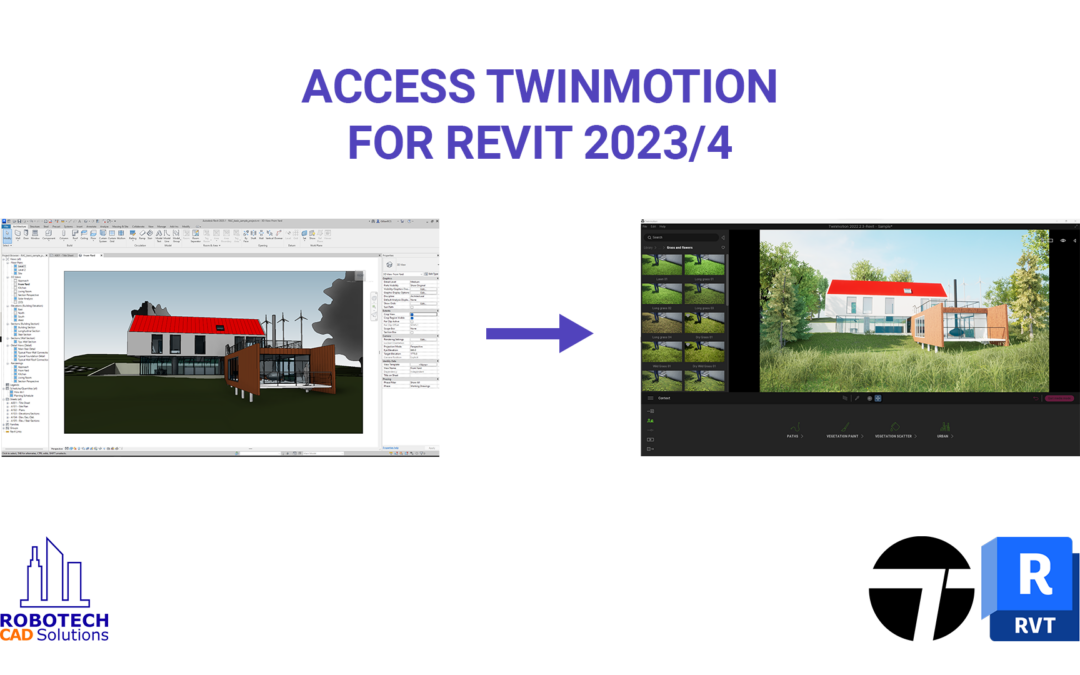
Access Twinmotion for Revit 2023 and 2024
Recently included in all Revit subscriptions is access to Twinmotion. With a new partnership between Autodesk and Epic Games, all Revit subscriptions now have access to this real-time visualization tool to produce high-quality images.
Download Twinmotion:
- Access your Twinmotion subscription (included now with all Revit subscriptions) from your Autodesk Desktop App or access your Autodesk Account page.
- Click on the Twinmotion tile to get access to the Twinmotion installer webpage. You may have to accept their End User License Agreement to continue.
- Locate the downloaded .zip file (typically in your downloads folder) and right-click and choose Extract All
- Open the extracted folder, and double-click on the .msi file to startup the installer.
Follow the onscreen prompts to complete the installation.
Exporting your Revit project to Twinmotion:
- Open Revit and open any project file.
You must be within a 3D view to open Twinmotion. - In the View tab > Presentation panel, click on Twinmotion then Open in Twinmotion.
- When Twinmotion opens, select New Project and click OK.
Updating your Revit model, and Synchronize back to Twinmotion:
- Open Revit again without closing Twinmotion.
- Modify your file, such as add new elements, change an element’s properties, etc.
- In the View tab > Presentation panel > Twinmotion, select Direct Link Synchronization.
- You do not have to save your file before you synchronize.
- Switch back to Twinmotion and you will see the changes occur immediately within the file.
Don’t forget to save your Twinmotion project to not lose your hard work!
Reopen a Twinmotion Project:
- If you already have an existing Twinmotion project, repeat the previous steps to export your file into Twinmotion
- When prompted, select Existing Project at the start window
- Navigate to the saved file on your system and click OK.
You will continue from where you last left in the model.
Thank you for watching, hopefully you will all have fun visualizing your Revit projects in Twinmotion. If you have any questions please feel free to leave a comment. Like and subscribe if you’d like to see more Revit and Twinmotion content!